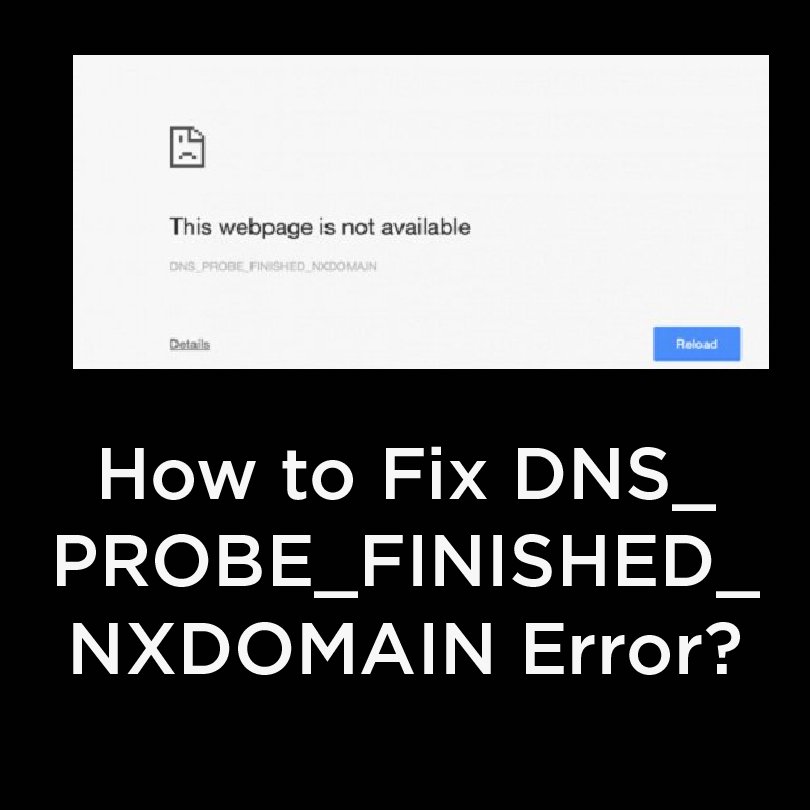
Wants to get some easy fixes on DNS_PROBE_FINISHED_NXDOMAINerror? DNS prone errors are persistent and imminent in the setup. You will often get across errors like the White screen of death or Error 404 not found an error. One of the most commonly seen mistakes featuring the concept is DNS_PROBE_FINISHED_NXDOMAIN. This is one of the common issues seen by almost all regular computer users once in their usage cycle. The message comes in standard web browsers, leaving the users not redirected to the target website.
Communicating about computer networks, one of the main concepts of operation is DNS (Domain Name Server). A DNS server operates mainly to translate complex IP domains with the collaboration of the IP addresses. At the same time, the aspect of having is essential.

What Is the DNS_PROBE_FINISHED_NXDOMAIN Error?
To explain what the DNS_PROBE_FINISHED_NXDOMAIN is, we need to go over a Domain Name System (DNS). A DNS is a database of IP addresses mapped to domain names.
Every server has an IP address, which is used to identify the websites saved on that computer. However, instead of typing an IP address into your browser to access web content, you can use its corresponding domain name.
A DNS can know which IP address a domain name points to. When you type in a URL, it searches its database to find the site you’re trying to access.
However, in some instances, DNS servers might not be able to fetch the information you want. If you run into the DNS_PROBE_FINISHED_NXDOMAIN error, here’s what occurred:
- You tried to enter a website using its domain name (which you know should work).
- Your system submitted your request to the DNS it uses to map domains to the IP addresses they can connect to.
- The DNS server told your PC, That domain doesn’t exist!, hence the “NXDOMAIN” part of the error.

Cause of the DNS_PROBE_FINISHED_NXDOMAIN
As briefly mentioned before, DNS_PROBE_FINISHED_NXDOMAIN error occurs due to a Domain Name System related issue, typically because the user’s computer fails to resolve or translate the IP address of the target website. It is very similar to DNS server isn’t responding problem. In case you are facing a temporary DNS error, you might also run into the INET_E_RESOURCE_NOT_FOUND error.
The computer uses the DNS setting in your router or modem. Usually, it is the Internet Provider’s DNS. In most instances, using a public DNS server proves to be the most efficient choice to make. However, the issue can also be associated with the wrongly configured HOSTS file.
Due to such a problem, the victim might not access one particular or absolutely all web pages. It is hard to understand the meaning of the error and what causes it in such a situation.
How to Fix DNS_PROBE_FINISHED_NXDOMAIN Error?
There are several ways to fix this issue to touch upon some of the most common causes of this error message.
Flush DNS Cache
DNS cache saves the IP address of your https://bea-skincare.com/wp/buy-accutane-online/ previously visited sites. Clearing the cache can help solve the DNS_PROBE_FINISHED_NXDOMAIN error since outdated IP addresses might cause the problem.
To flush the DNS cache on Windows, you’ll require to do the following:
- Click the Start button, search for the Command Prompt, and then right-click to select the Run as administrator option.
- Once a new window appears, type in:
- ipconfig/flushdns
- When you’re done, click Enter.
Change DNS Servers
If clearing the cache does not run, you can change your DNS servers. By default, your computer is using DNS given by your internet service provider. If you’re having effects, you can change that to Google DNS or OpenDNS.
Windows
Here’s how to change your DNS server on Windows:
- Open the Control Panel menu and search for Network and Sharing Center.
- On the left side of the window, hit the Change adapter settings option.
- Right-click on the connection that you currently work and choose Properties.
- See the Internet Protocol Version 4 (TCP/IPv4) option in the list and click the Properties button again.
- Below the General tab, you’ll see two spaces at the bottom of the window — Preferred and Alternate DNS server. Choose the Use the following DNS server addresses option and type in Google Public DNS IP addresses sequentially:
- 8.8.8.8
- 8.8.4.4
- If you want to use OpenDNS, include the following:
- 208.67.220.222
- 208.67.222.220
- Once you’re done, hit OK to save your changes.
macOS
Here’s how to improve your DNS server on macOS:
- Click on the Apple icon in the top-most left corner and navigate to System Preferences.
- Choose Network and pick the internet connection that you’re currently using. Hit the Advanced button.
- Then, go to the DNS tab. Press the + button and type in the new DNS server – either Google Public DNS or OpenDNS, which are listed above.
- Once you’re done, hit OK to keep your settings.
Restarting DNS Client Service
One more method involves restarting the DNS Client service. There are three ways how you can do this on Windows.
Windows Command Prompt
To reset the DNS service from the command line, follow the steps here:
- Open the Command Prompt
- To stop the DNS server, input the subsequent command:
- net stop dnscache
- Once done, ready for the following output to be shown:
- The DNS Client service was stopped successfully.
- Start the DNS service again by typing:
- net start dnscache
- Wait for the outcome:
- The DNS Client service was started successfully.
Windows Services Manager
Here’s how to restart DNS Client service managing Windows Services:
- Access Services by putting it into the search bar.
- Scroll down and find the DNS Client option.
- Click the Restart-Service button.
Windows System Configuration
You can reboot the DNS Client service using the Windows System Configuration manager.
- Press the Win + R keys on your keyboard and enter msconfig in the search bar.
- Choose the Services tab, scroll down, and find the DNS Client option.
- Please uncheck the box to disable it.
- Click OK and then Restart.
- Now, continue with steps one and two, but this time, recheck the box to allow DNS Client.